How KDZU Builds “Lone Wolf” WiFi Networks Using OpenWrt
We broadcast from the edges of trails, rooftops, stairwells, and other transitional spaces. We utilize tools that can be repurposed, reimagined, or sometimes left for others to adapt. One such tool is WiFi routers running OpenWrt, an open-source OS that turns standard routers into independent transmitters, creating isolated networks.
A lone wolf WiFi network is a small, self-contained wireless setup used to create a small local network without internet access. This network does not uplink to social media. There is no ad tech. There is no cloud. It quietly shares local files or prompts, accessible only to those within WiFi range.
With one of these small routers, we can share files, serve HTML pages, loop audio, send messages, or create archives. We place them in overlooked public spaces. They run on batteries or in those strange and rare places with an open power outlets (check behind vending machines!). These routers often disappear over time.
We see our Lone Wolf networks as similar to zines, using Wi-Fi routers as “photocopiers” to reproduce and distribute human-made content at human scale.
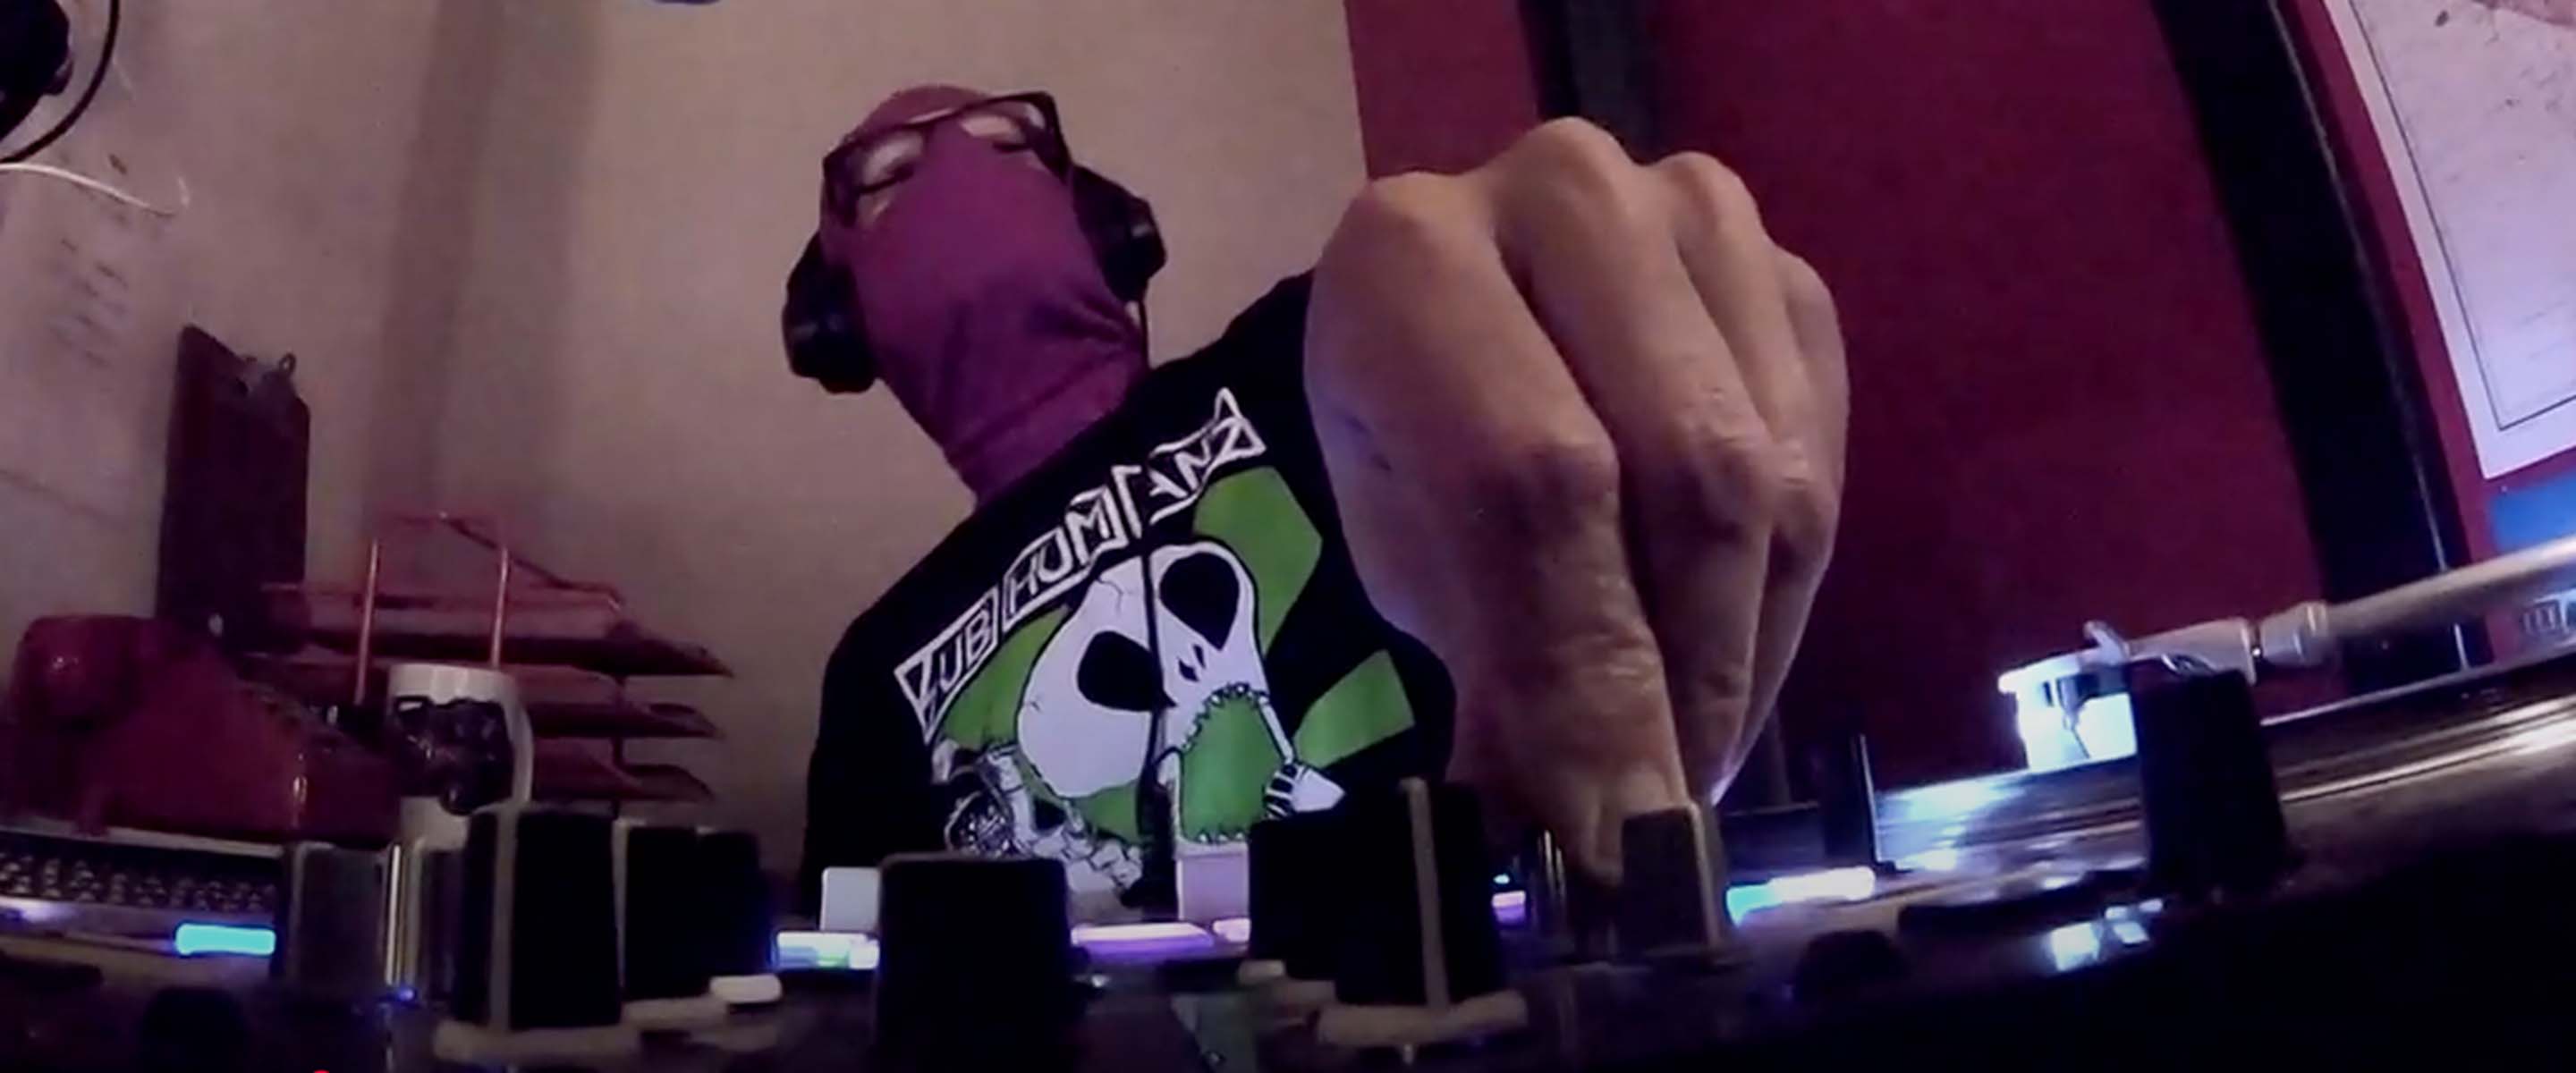
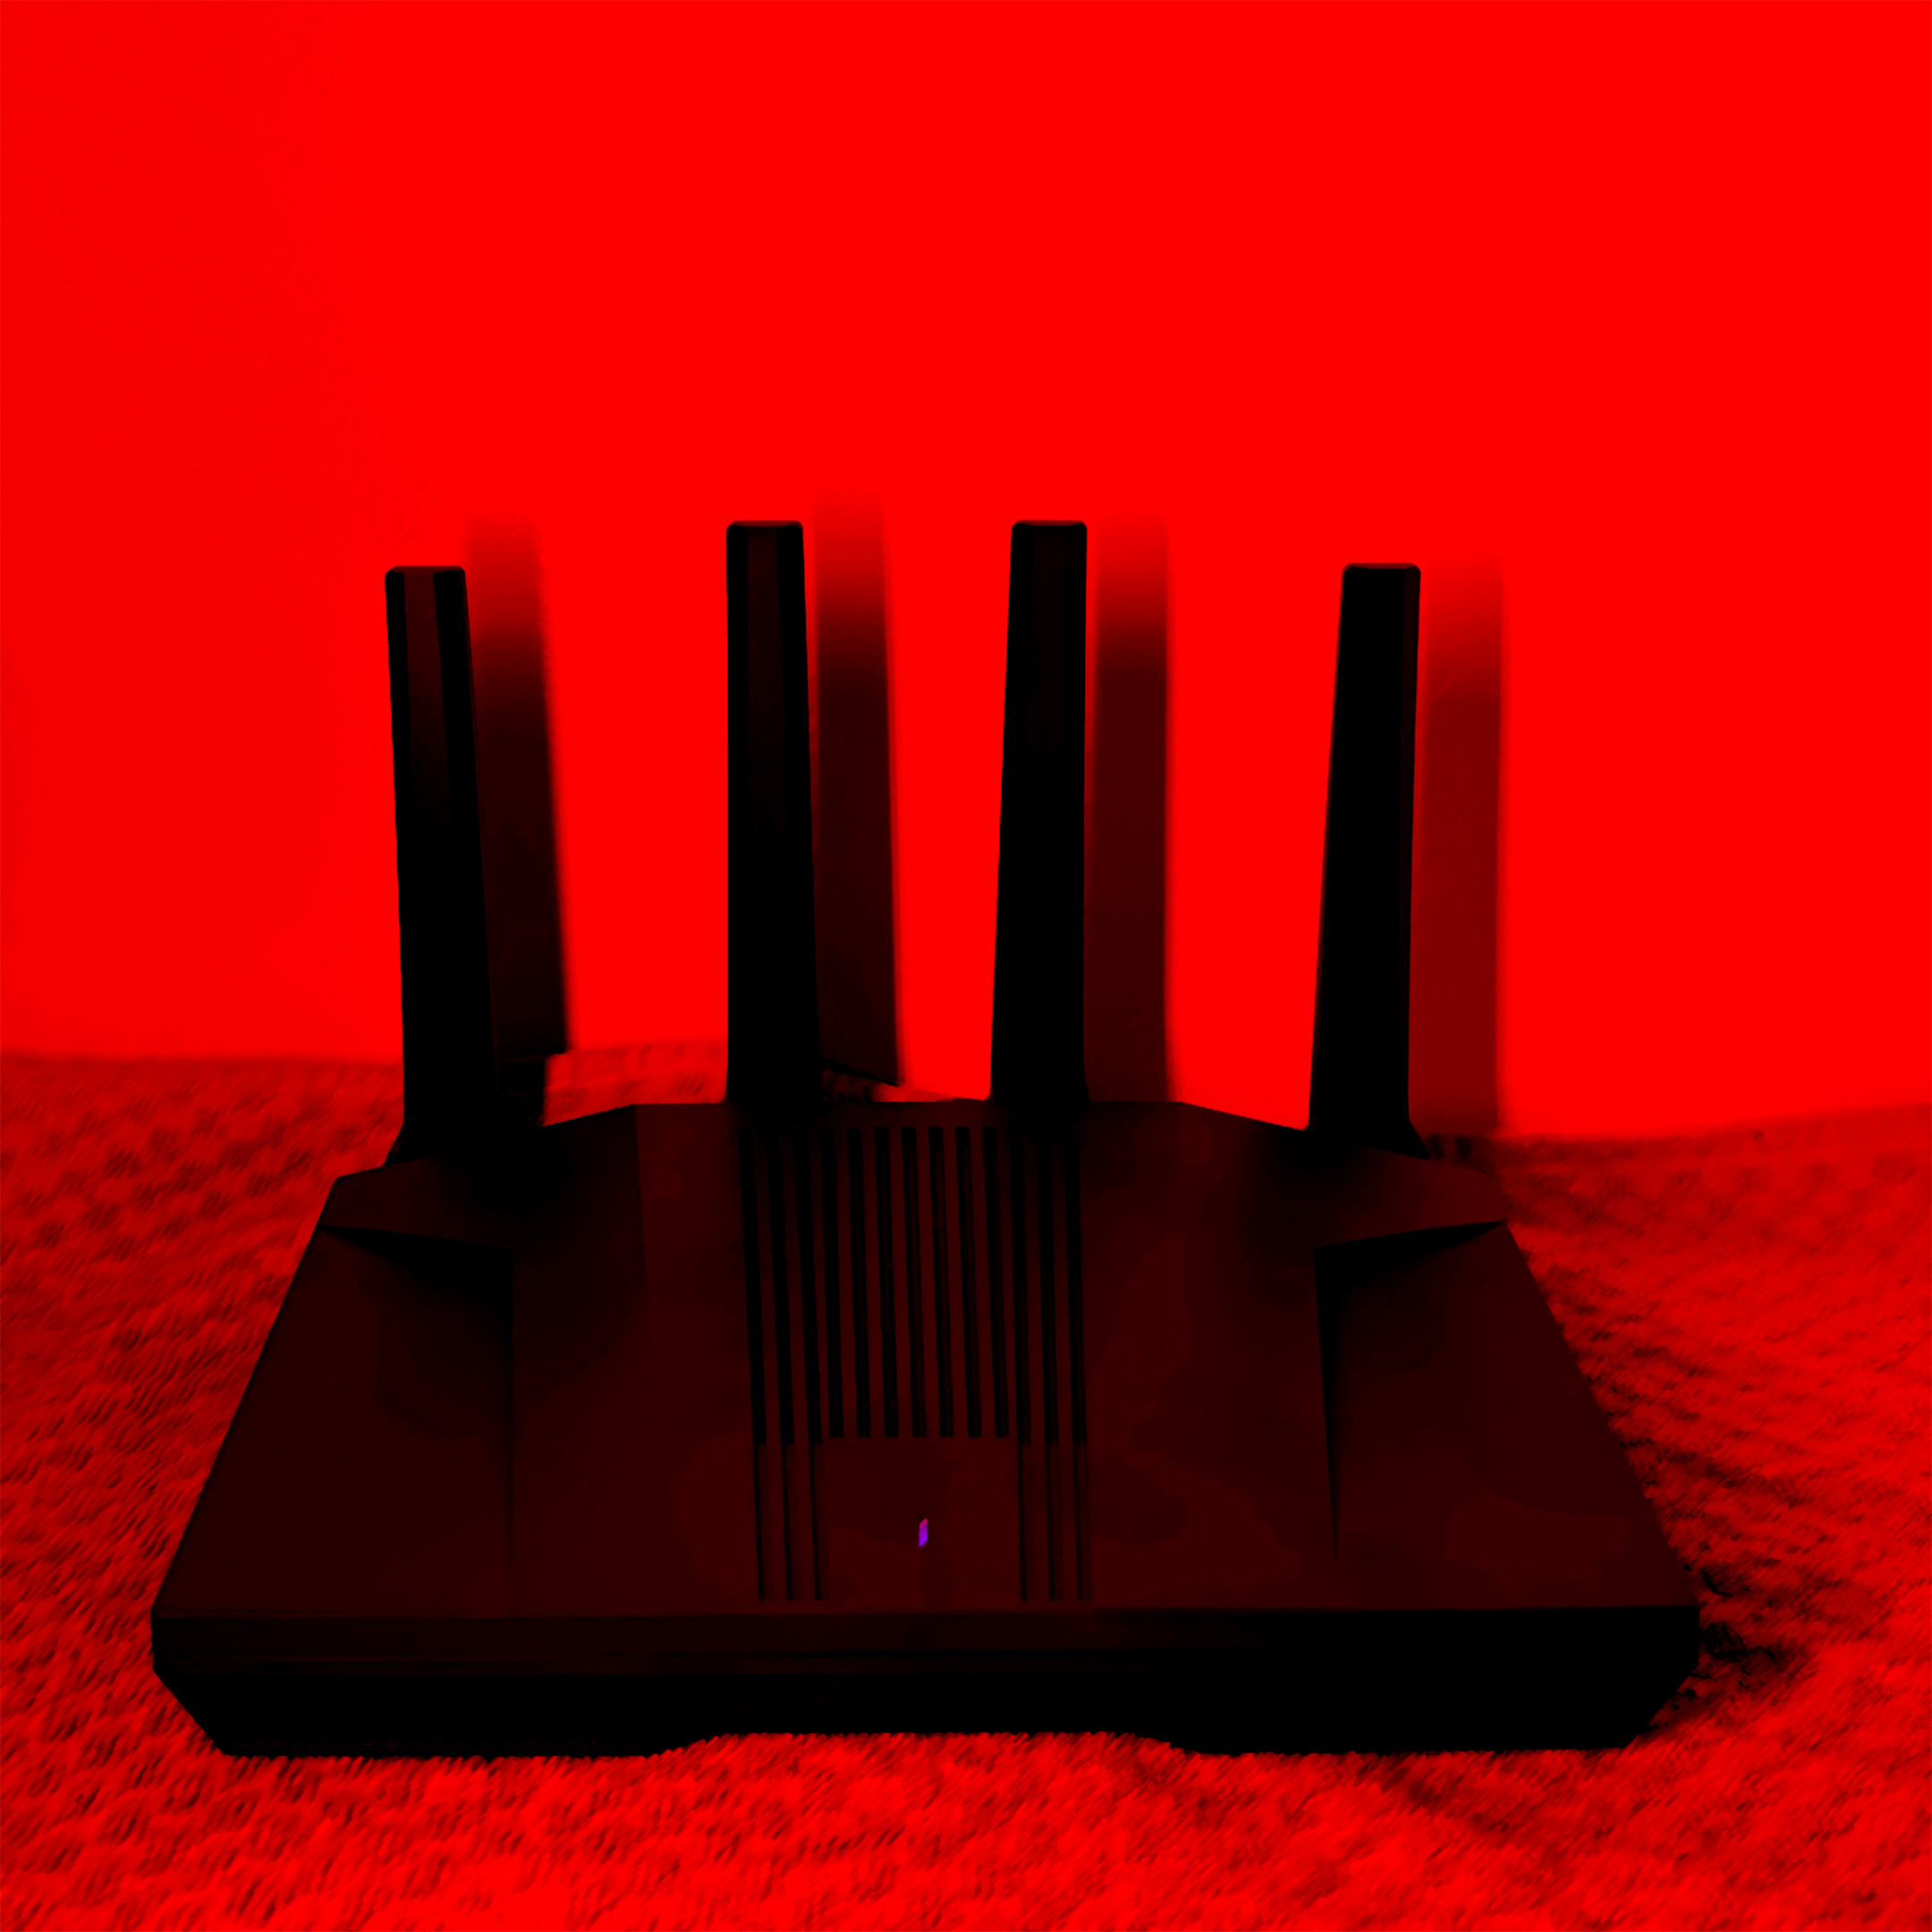
We use the GL.iNet GL-MT6000 Flint 2, a portable WiFi 6 router that comes pre-installed with a version of OpenWrt.
Step 1: Install OpenWrt on your router
-
Download the sysupgrade image from the OpenWrt Firmware Selector for the GL.iNet GL-MT6000
-
Log in to the router’s interface and flash the image via
Settings > Firmware Upgrade.
-
For more information, consult the OpenWrt hardware page
Step 2: Configure OpenWrt and Enable WiFi
Access the OpenWrt admin tools
Connect via Ethernet to one of the LAN ports.
⚠️ You cannot connect to a freshly flashed OpenWrt router via WiFi.
Open your browser and go to:
http://192.168.1.1 or http://openwrt.lan
Login credentials:
- Username:
root - Password: (leave blank at first login)
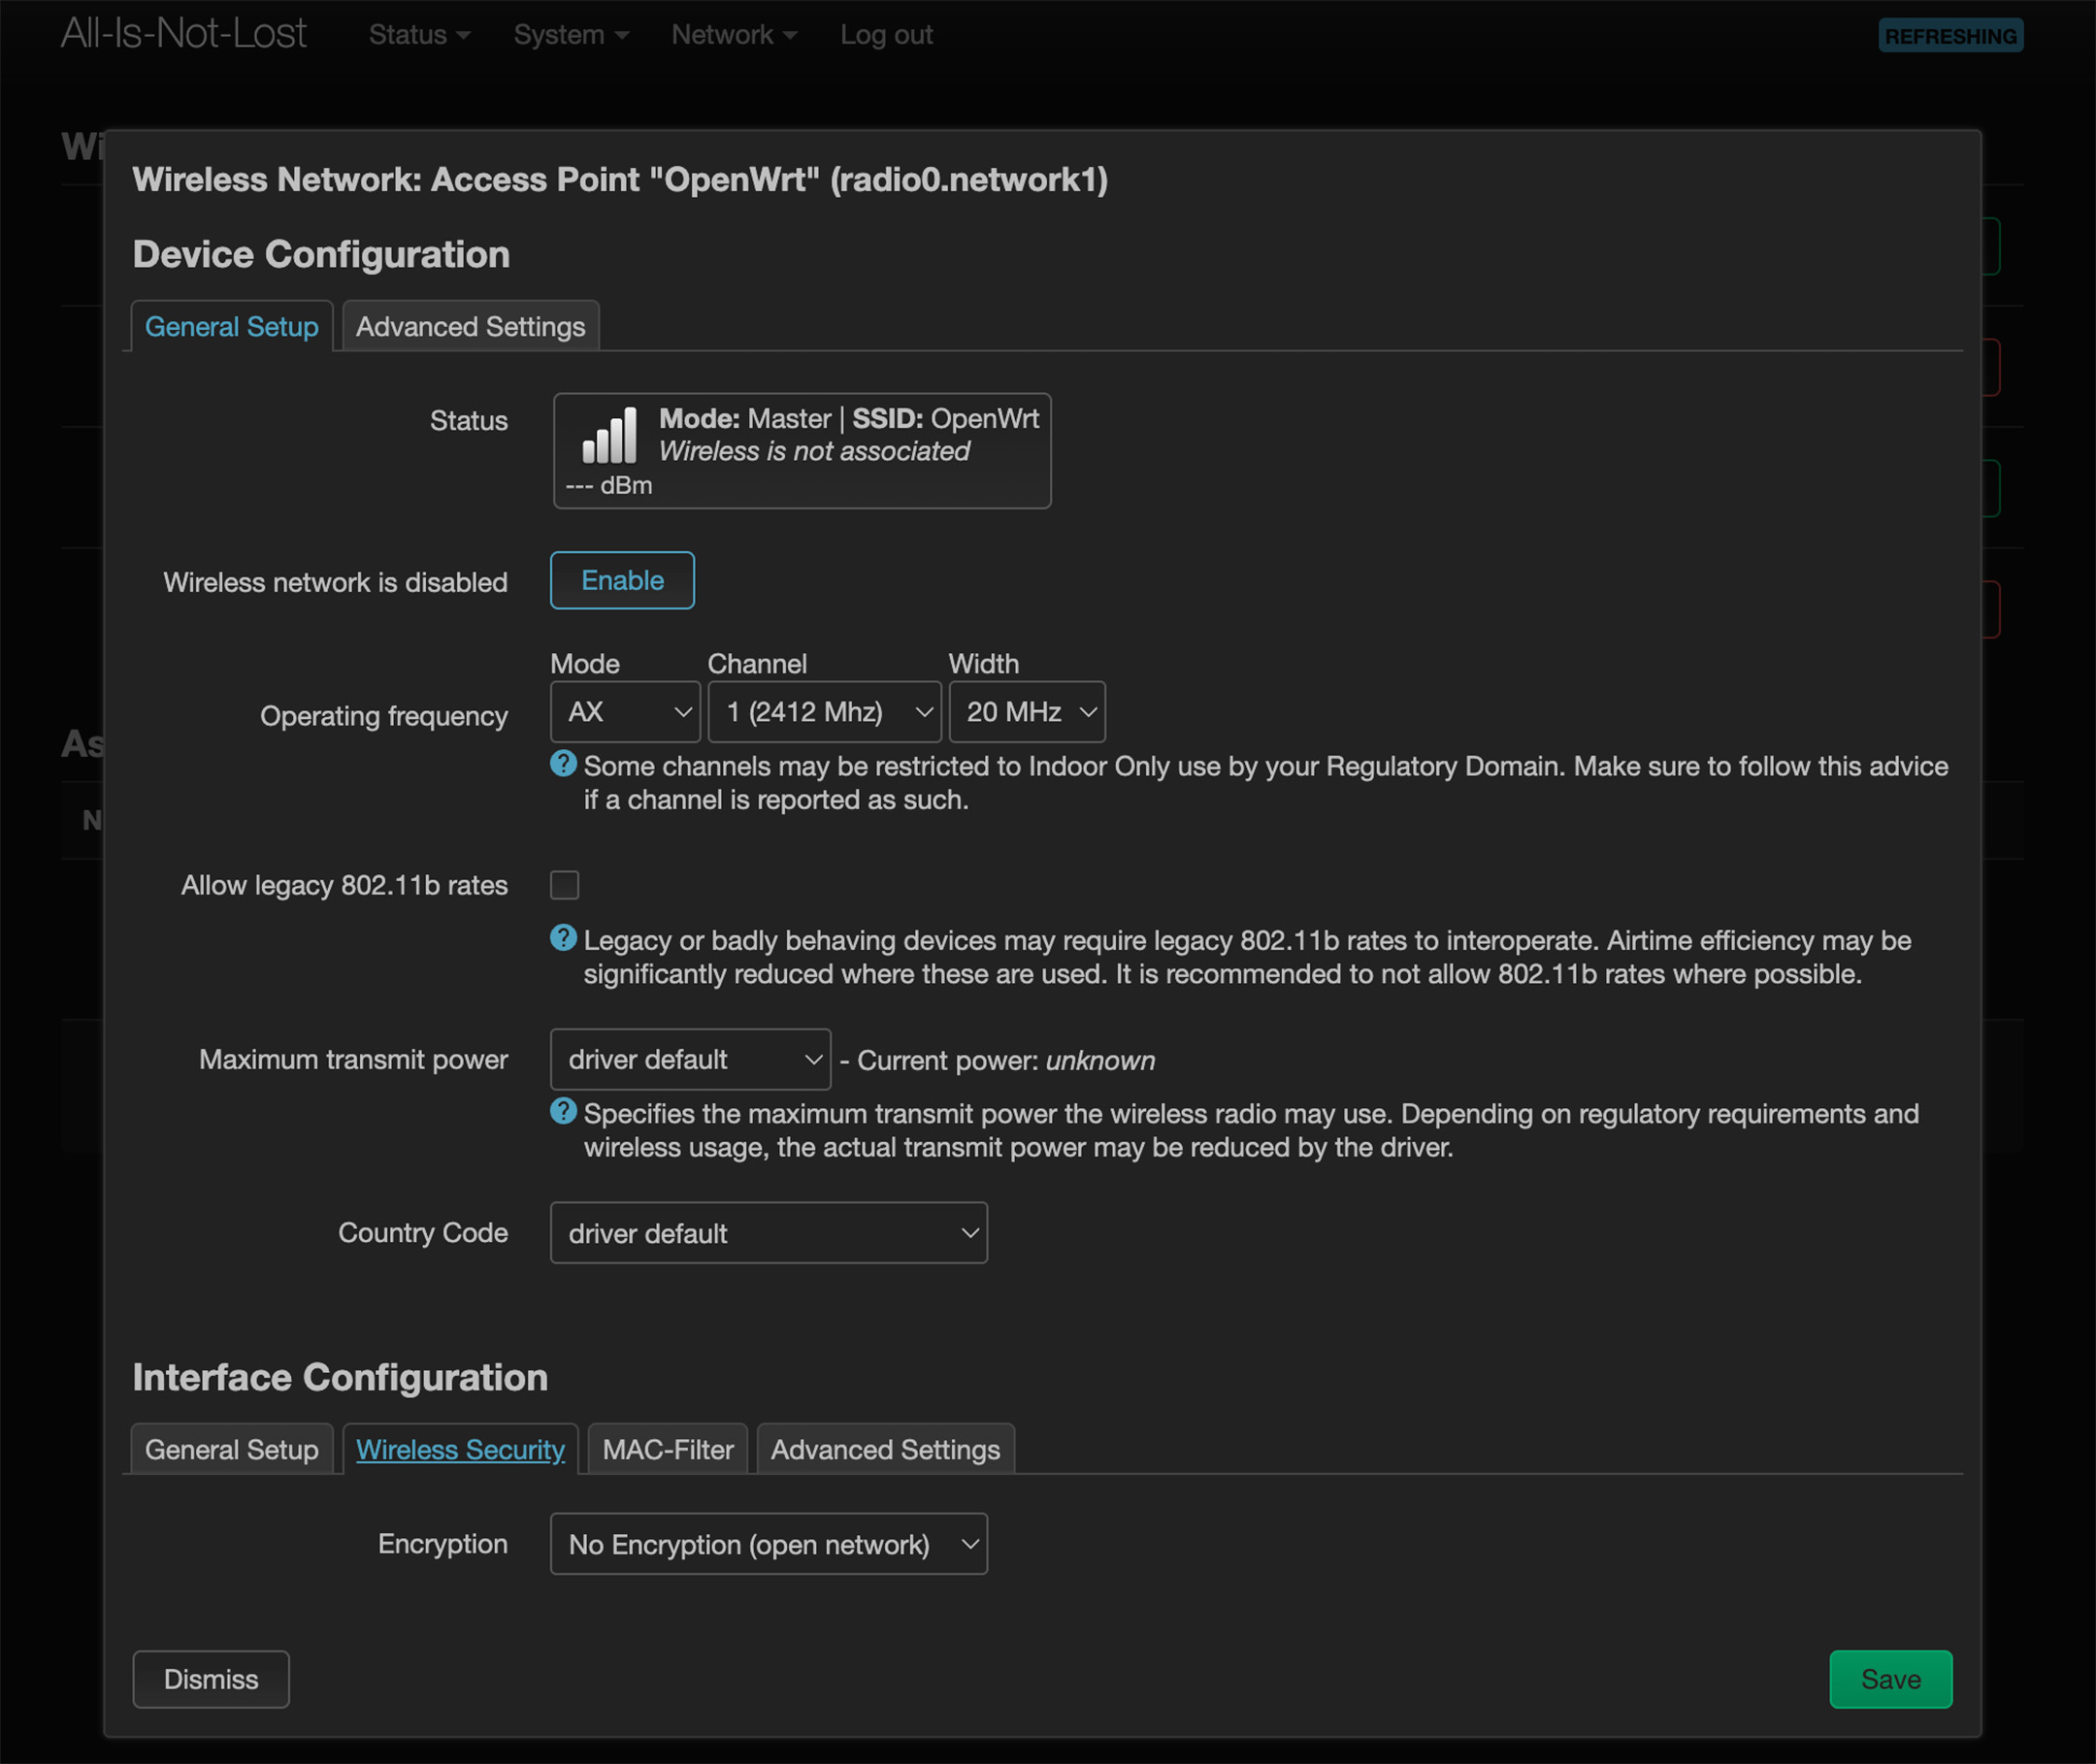
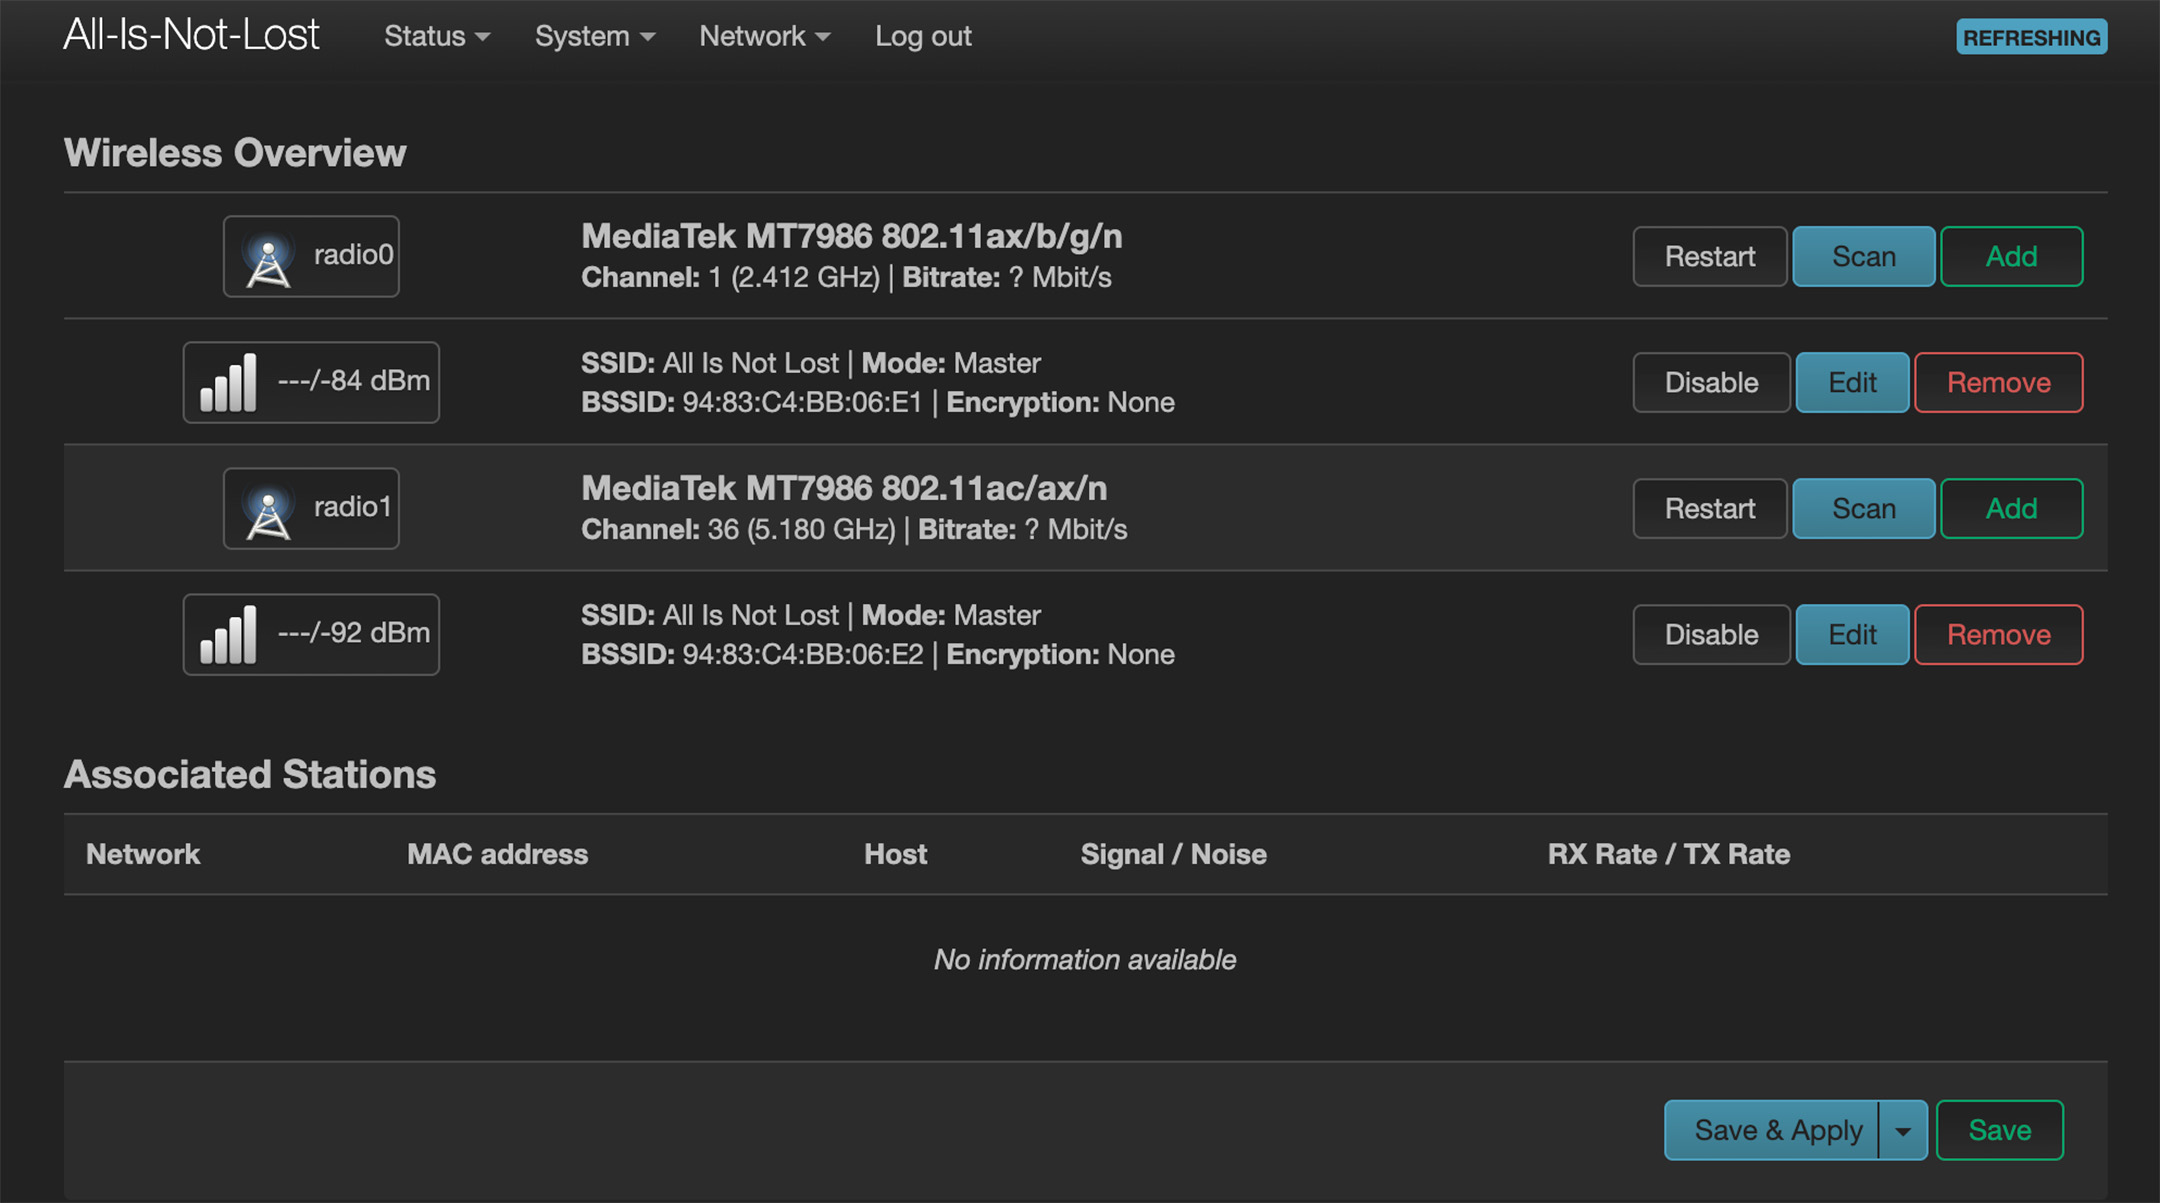
Enable the WiFi interfaces
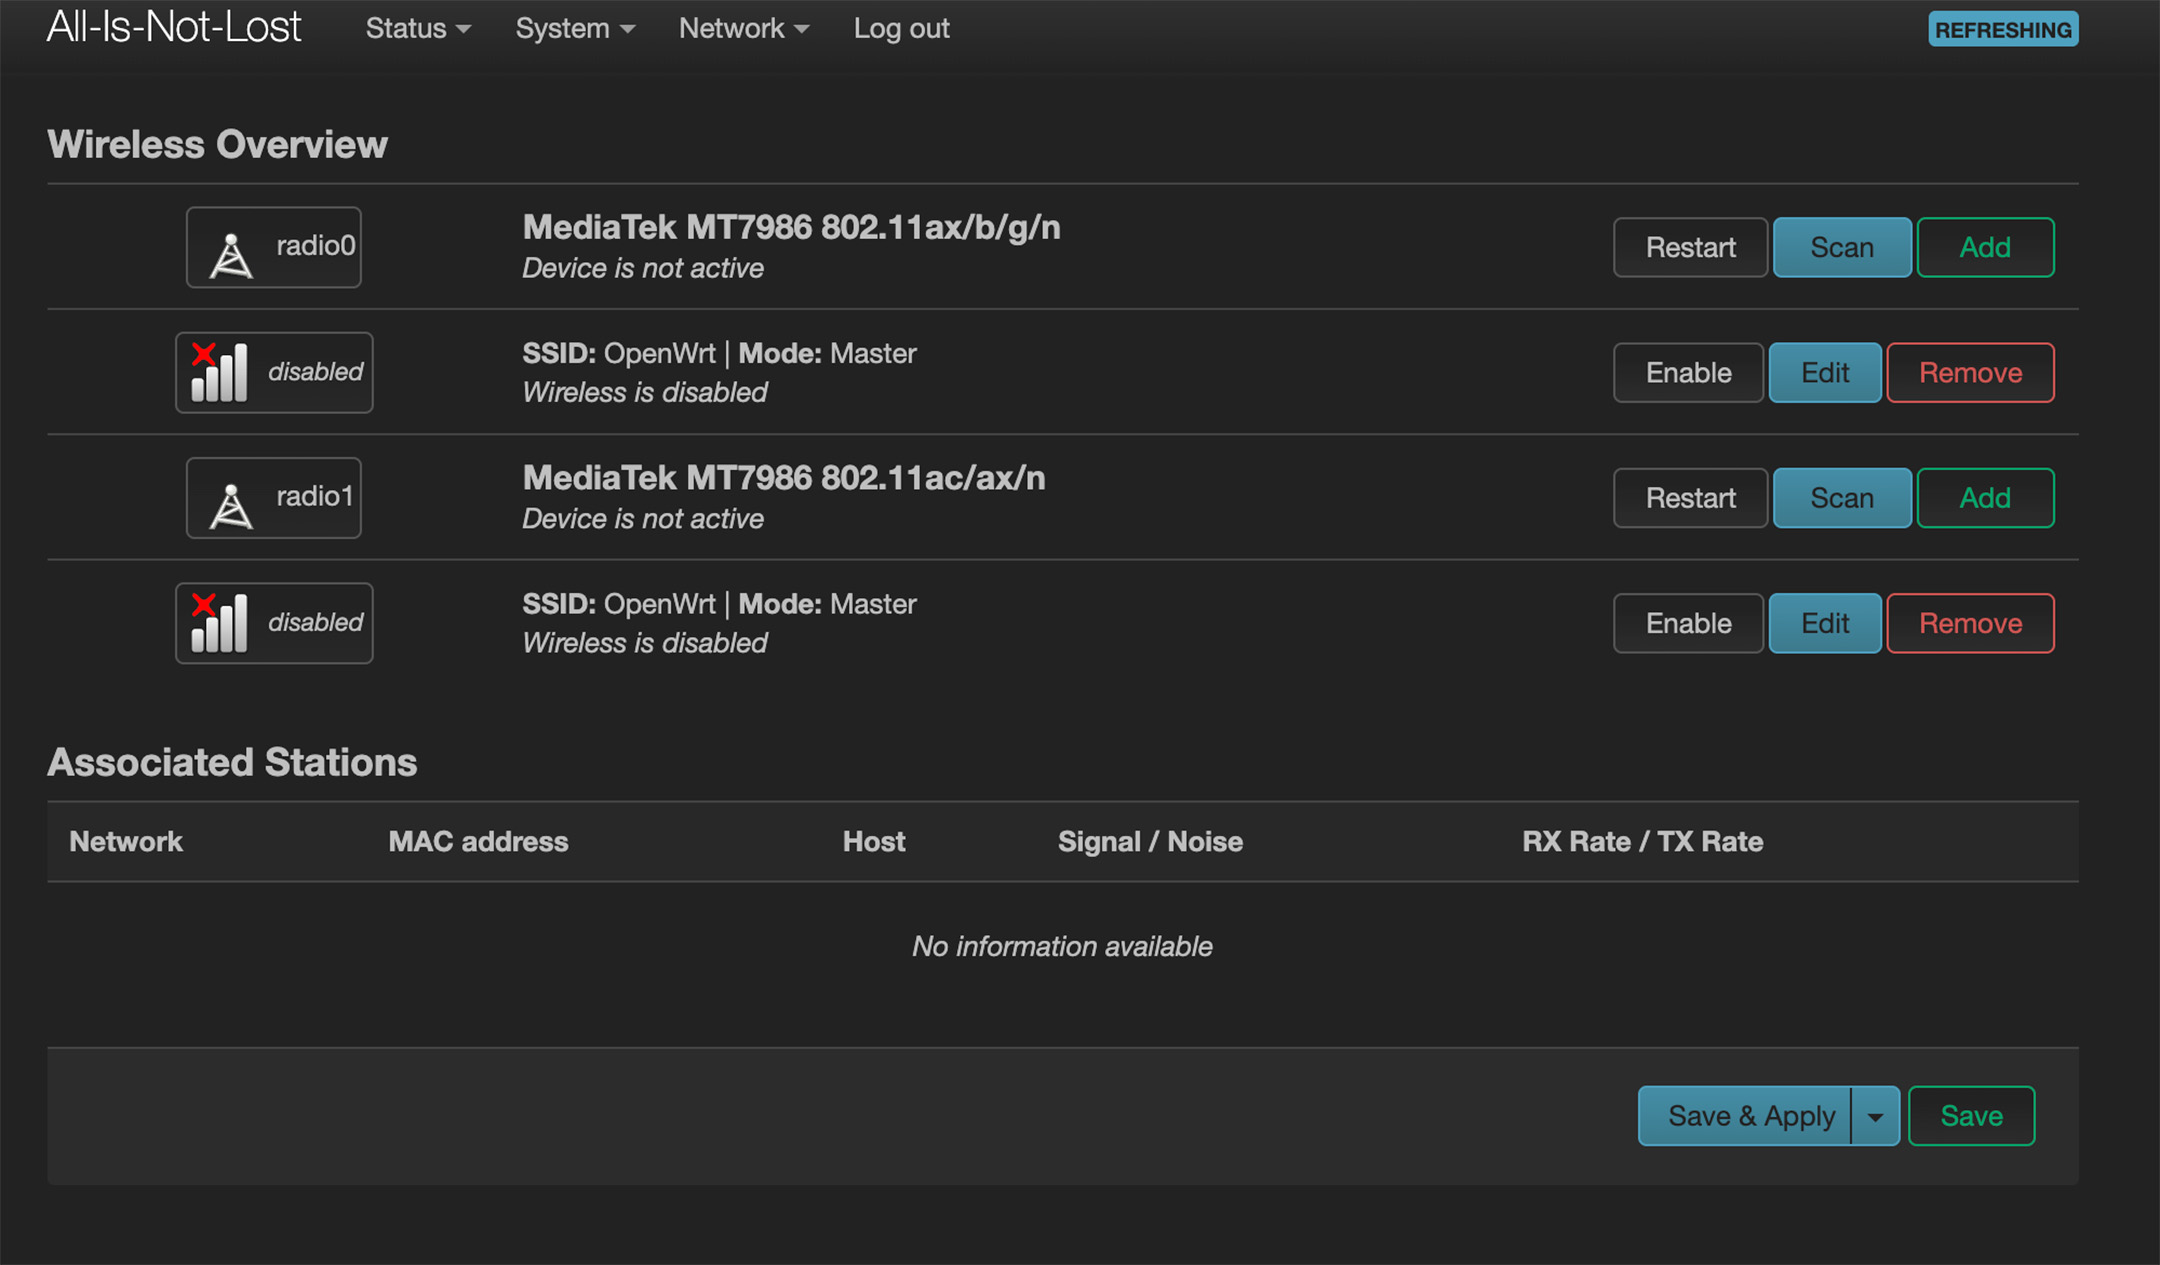
Go to Network > Wireless.
Edit both radio0 and radio1:
- Under General Setup, choose Mode and name your ESSID.
- Under Wireless Security, choose your encryption settings:
- Use No Encryption for open access.
- Or set a password for restricted access.
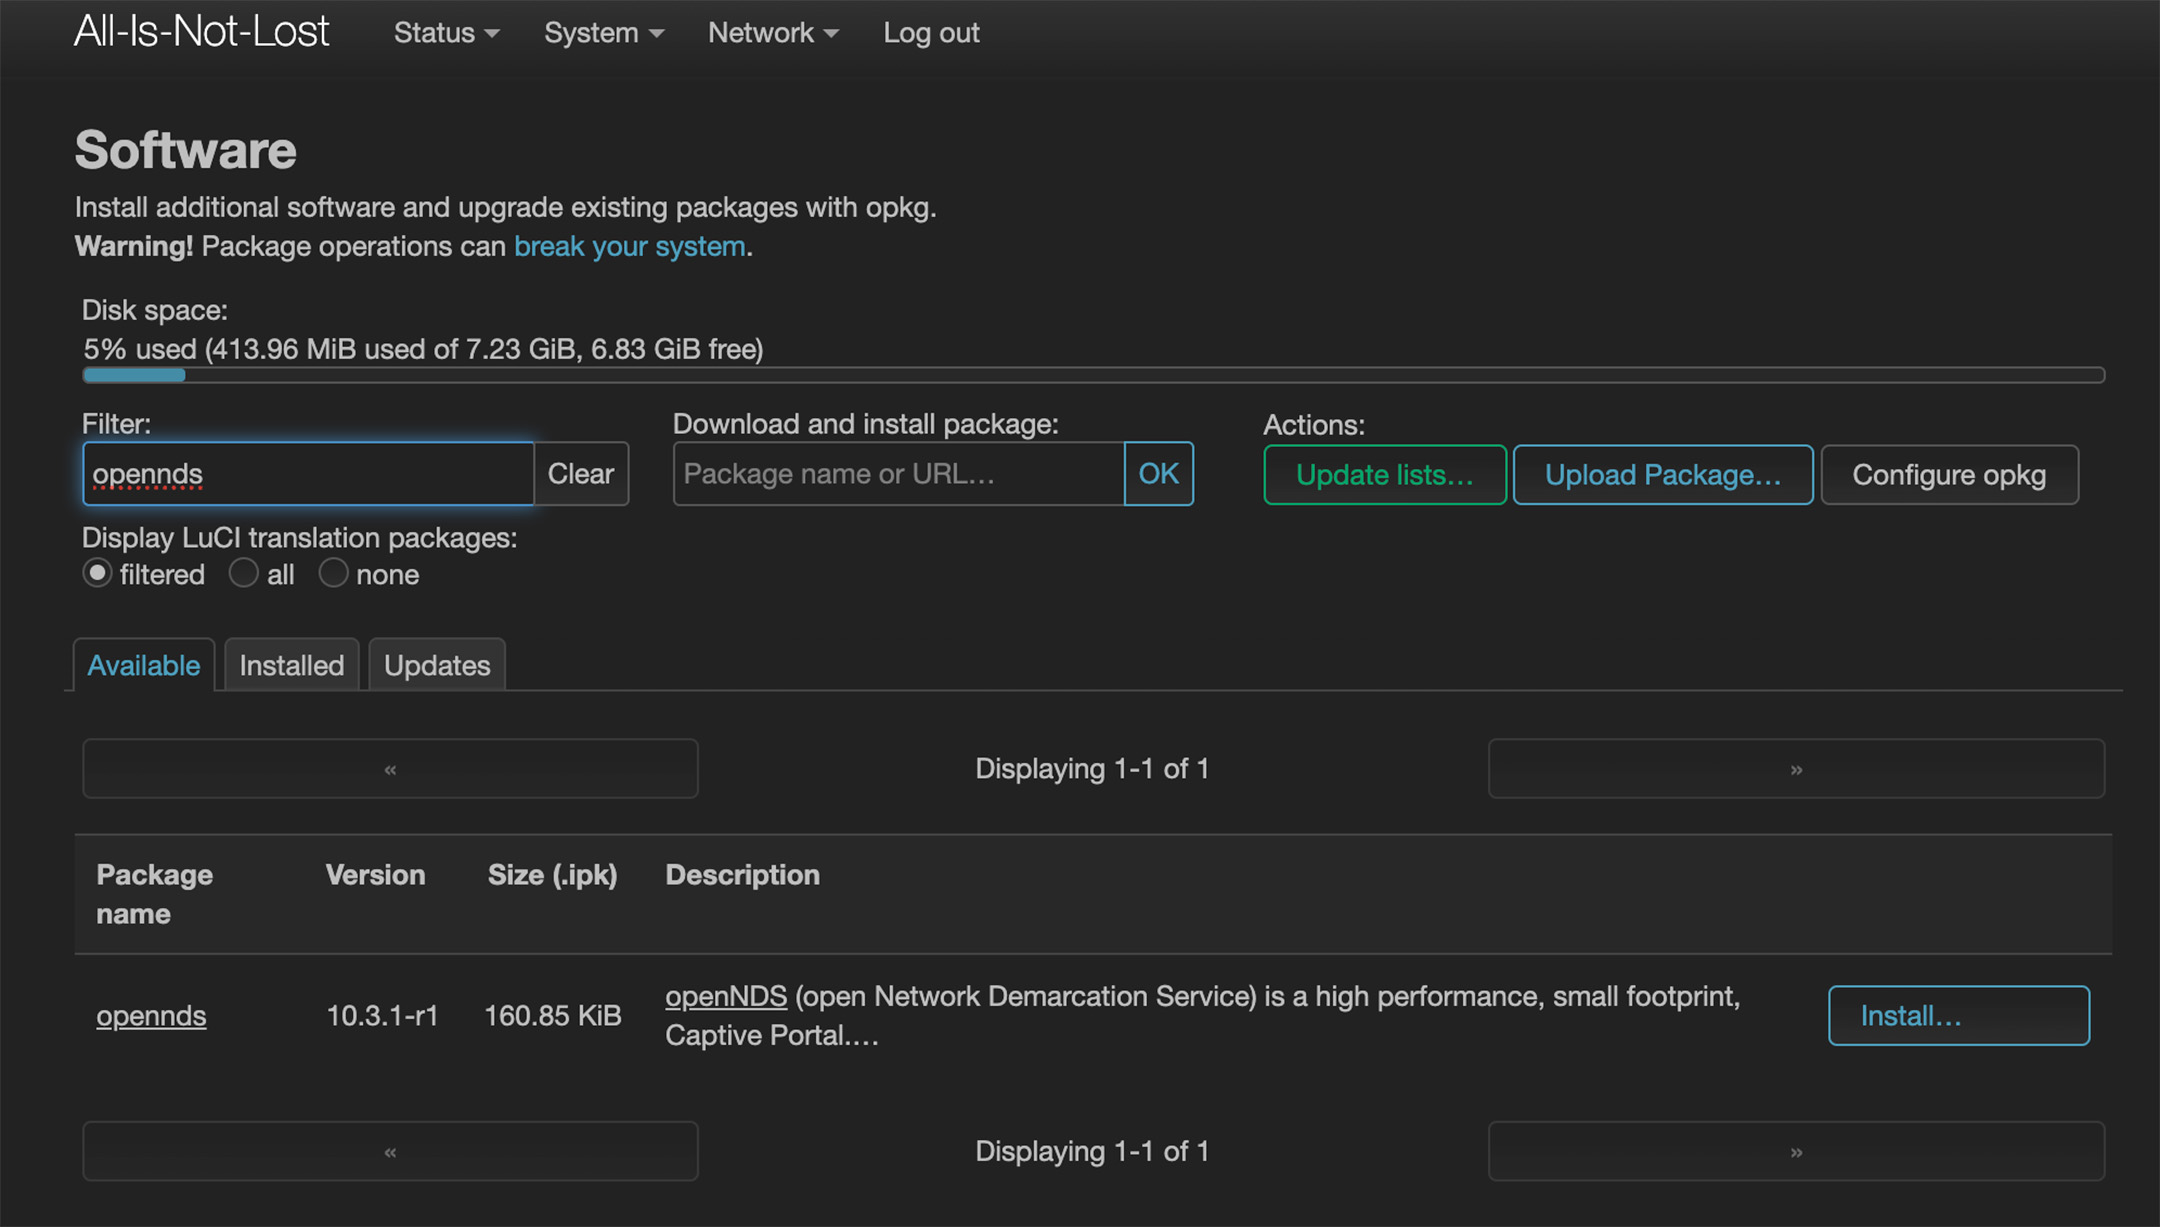
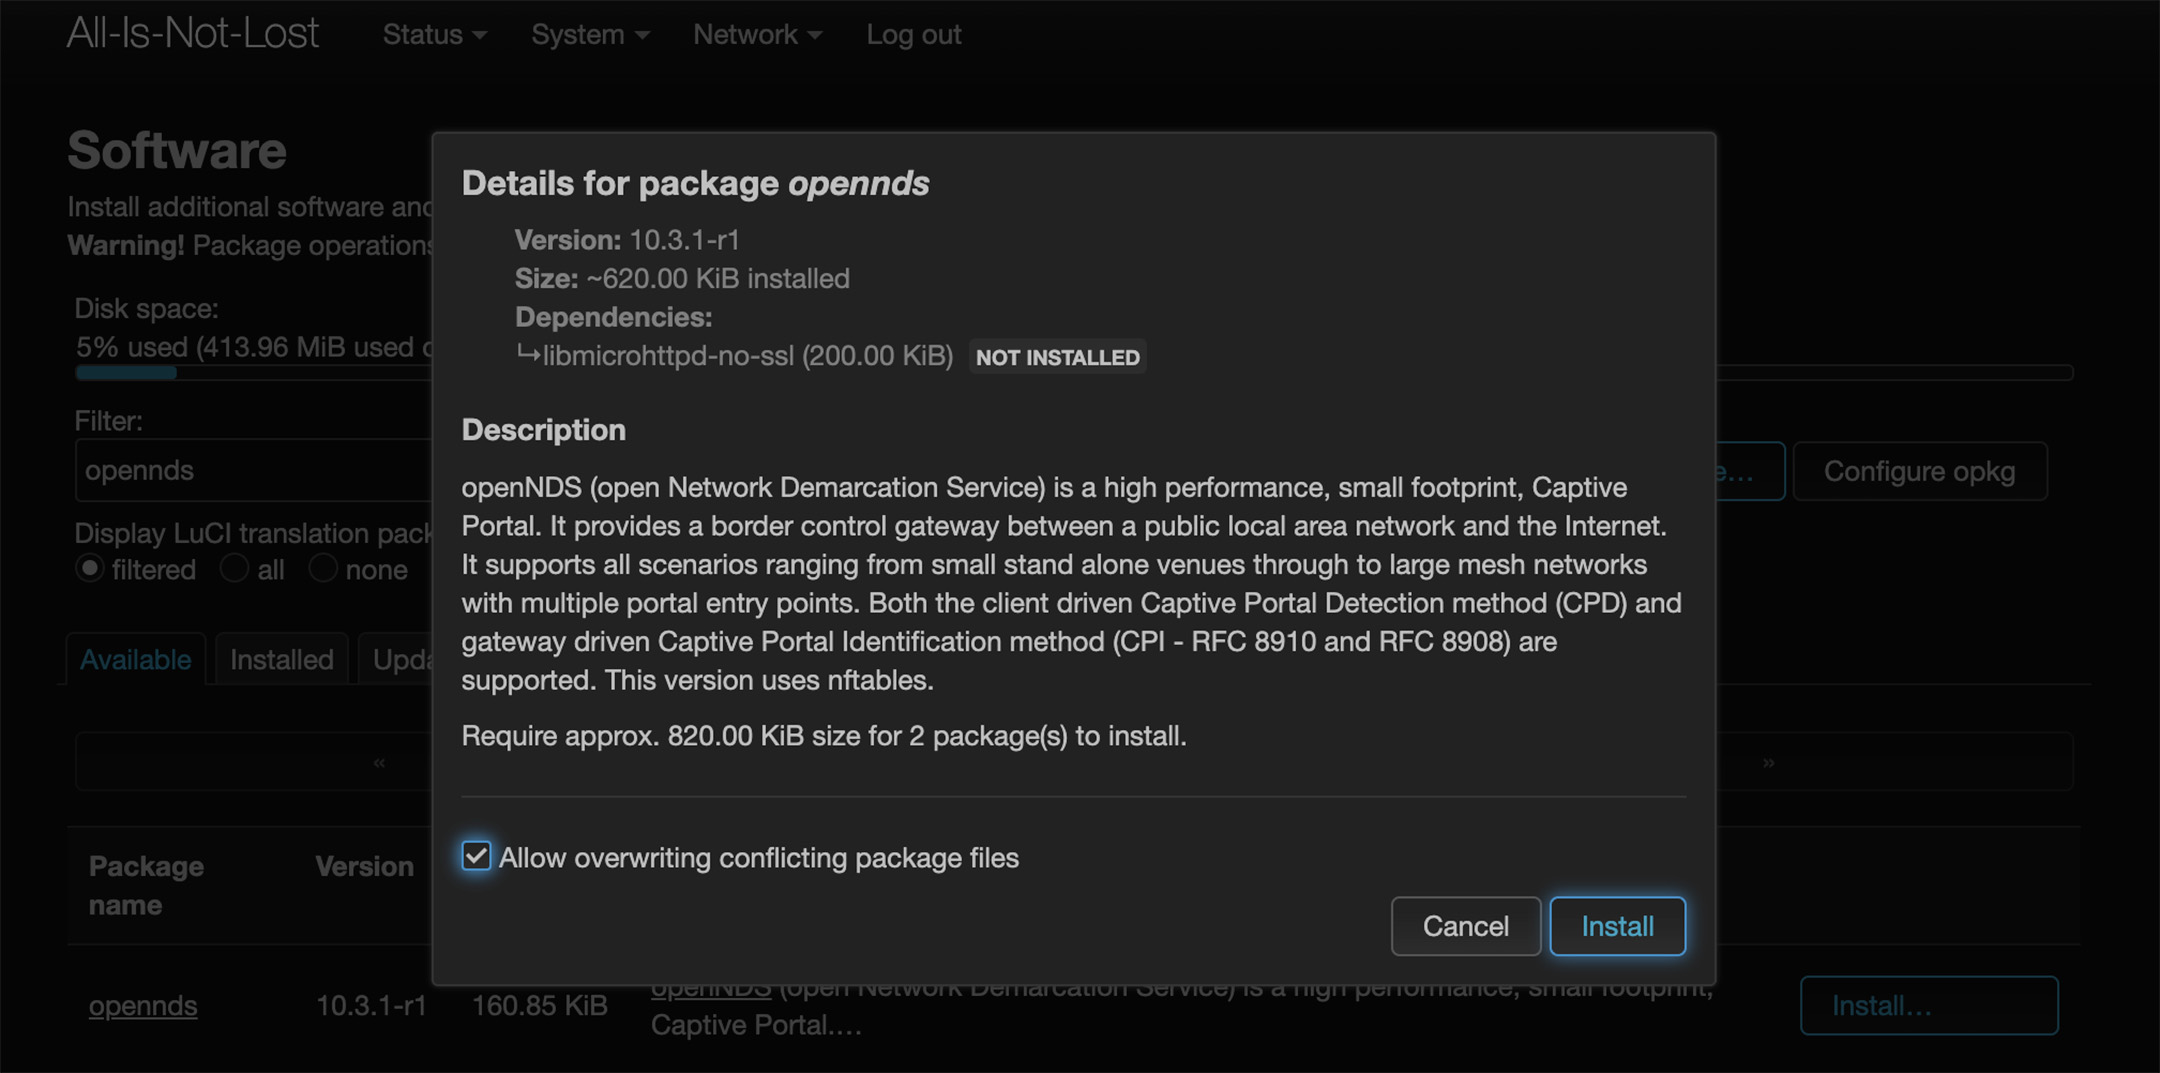
Step 3: Install openNDS (Optional Captive Portal)
To serve a landing page or redirect all traffic, install openNDS.
A brief note about captive portals and how we use them for good instead of evil.
A captive portal is a network access control mechanism that forces a web browser to load a specific page before allowing normal internet use. You’ve probably seen this when connecting to airport WiFi, hotel networks, or university guest access points. Instead of taking you to your homepage or search query, your browser is intercepted and redirected to a login or terms-of-service page. This interruption is created by the captive portal software. Captive portals are often pretty annoying. Especially the ones that force you to watch ads before using airport wifi.
KDZU uses captive portals differently.
Our captive portals do not serve ads or grant access to the internet. They are self-contained delivery systems for hyperlocal content. When someone connects to a KDZU lone wolf network, openNDS automatically redirects their web browser to a local HTML page stored on the router itself. This page can display content such as:
- A message or communique
- A looping audio stream
- A task, code, or request
- Links to explore other parts of the local file system
- Clues that lead to physical locations or other hidden networks
You do not need an internet connection. Everything is served from the router’s internal storage or an attached USB drive.
This approach makes the experience feel like stumbling into a hidden signal. You connect to an unfamiliar WiFi network and are met with something unexpected—a page that seems out of place, personal, or deliberate. It can feel like receiving a transmission meant just for you.
OK. back to the installation notes.
Connect the router to an existing WiFi network or wired internet so you can download packages.
Use this guide to configure client WiFi:
https://openwrt.org/docs/guide-user/network/wifi/connect_client_wifi
Follow the install instructions at https://opennds.readthedocs.io/
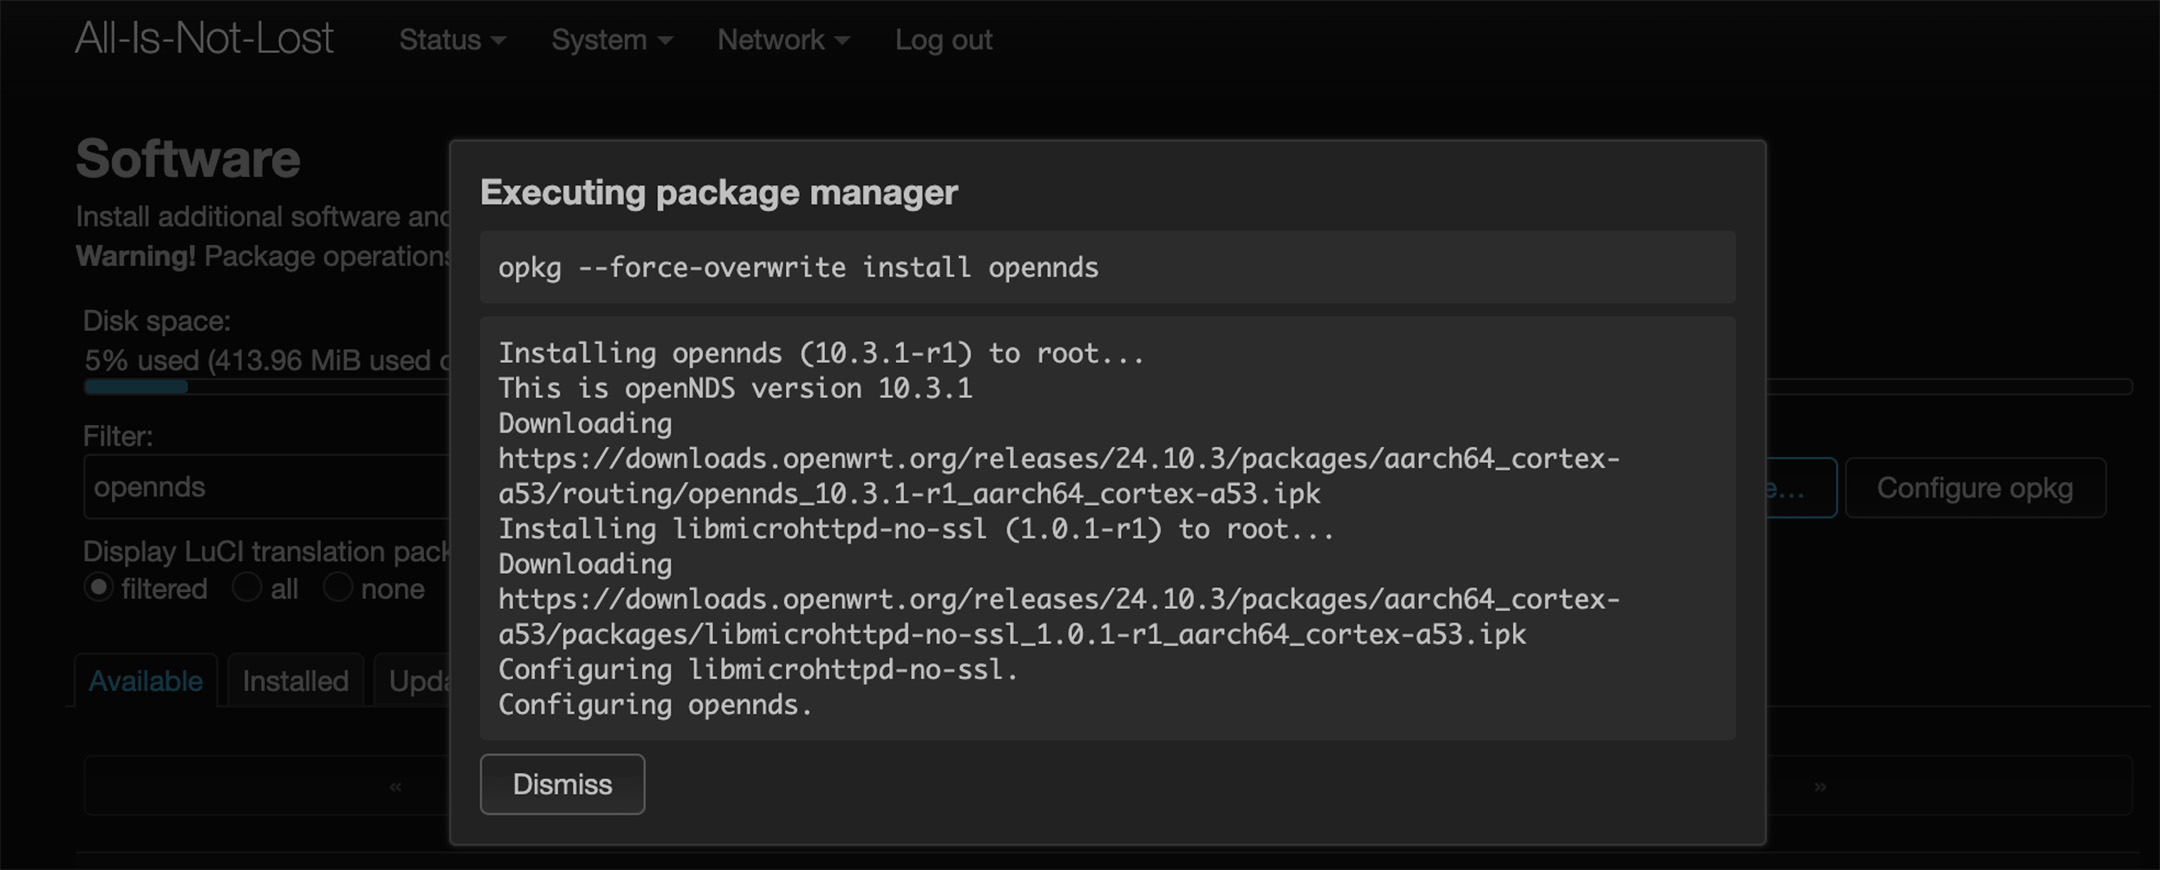
⚠️ Once openNDS is running, it will intercept all HTTP requests—including access to the OpenWrt admin interface. Ouch. This blocks the admin web pages. So after this point, it is easiest to connect via SSH instead of using a web browser:
ssh root@192.168.1.1Step 4: Create Your Custom Captive Portal
Once openNDS is installed, you’ll want to create a custom splash page that appears when people connect to your network. We’ve created a complete example implementation for the “All Is Not Lost” project.
KDZU Captive Portal Repository
Our custom captive portal turns the WiFi connection moment into a narrative experience. Instead of a typical login page, visitors encounter a zine-like manifesto page with a dark cyberpunk aesthetic and glitch effects.
Repository: https://github.com/KDZU-antisocial/all-is-not-lost
This repository contains:
- Complete ThemeSpec shell script for openNDS
- Detailed installation instructions for deploying your custom theme
- Troubleshooting guides for common issues
- Customization examples for adapting the design to your project
- Technical documentation on how openNDS ThemeSpec scripts work
What You’ll Find There
The repository demonstrates how to:
- Create a click-through captive portal (no authentication required)
- Build a self-contained theme with no external dependencies
- Design responsive pages that work on any device
- Implement the dark aesthetic consistent with KDZU’s visual language
- Display all content before authentication so the page itself becomes the transmission
Key Features of the Implementation
- No external dependencies - Everything is embedded in the shell script
- Dark cyberpunk aesthetic with glitch effects and retro terminal styling
- Fully responsive design that works on phones, tablets, and laptops
- Click-through access - No passwords or data collection required
- ThemeSpec-based - Uses openNDS’s native theming system
Philosophy: The Router as Transmitter
This implementation embodies KDZU’s concept of tactical mythmaking. The captive portal appears as a familiar WiFi login page but delivers unexpected narrative content. The moment of connecting to WiFi becomes a moment of narrative engagement.
Like zines photocopied and distributed by hand, these WiFi routers broadcast at human scale, accessible only to those within physical proximity. The router becomes a transmitter of narrative fragments, broadcasting from transitional spaces—edges of trails, rooftops, stairwells.
Next steps: Visit the repository for complete installation instructions, customization guides, and technical details on adapting the theme for your own projects.